](/media/header/code_weave.jpg)
Introduction
As you have seen in the basics of LIFOS, at least one component of your project is written in Markdown code - the README. Here. we have already provided the most important information about Markdown so that you can properly design your own README. However, we also want to offer you an additional exercise opportunity for Markdown by asking you to recreate a document in a project on LIFOS. All the important steps, which include creating a project for the exercise and its deletion upon completion, will be described below.
Creating a personal project
To carry out our Markdown exercise on LIFOS, you first need to create your own project using the corresponding template. To do this, go to the LIFOS homepage and click on New Project. It is very important that you do not create the project via the department group, otherwise, the group will be flooded with numerous Markdown tutorials.

You only need to click on the New Project button here and you will have created a new personal project.
Then a page will open where you will find four options:
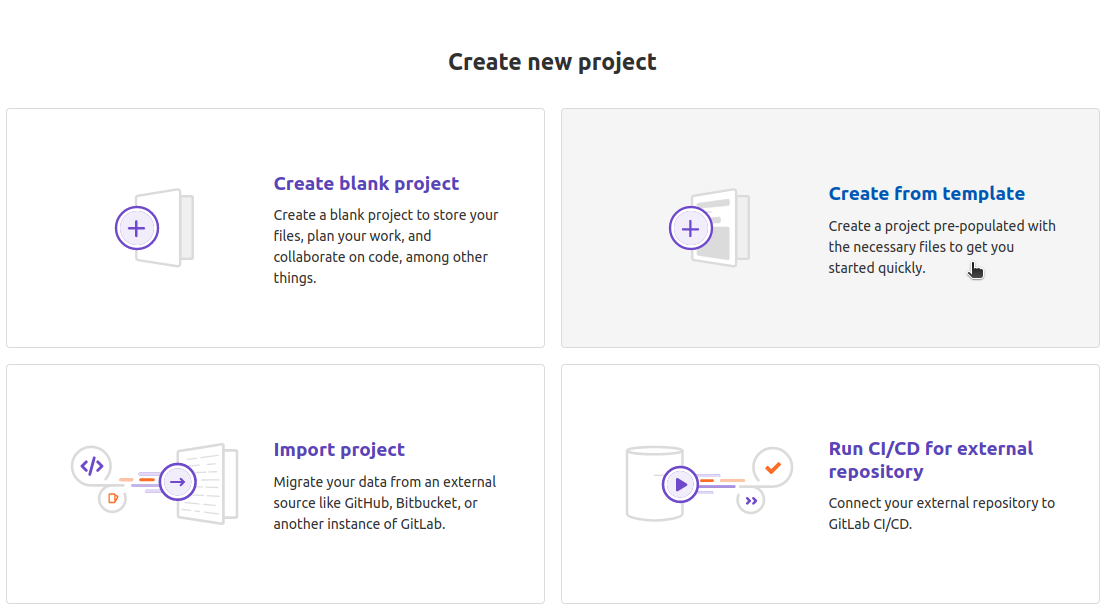
Here, click on Create from template, as there is a specific template for this Markdown exercise. This makes it a little easier for you. To access the exercise template, you need to click on “Instance”. The “Built-in” templates are global templates that are available to every GitLab user. You can explore them with a test project another time, if you want.

After clicking on “Instance”, search for the template named Markdown Exercise Template.

You can set the visibility level for this project to Private. This means it will only be visible to you, but since this is just for practice, it’s not a problem. We explained visibility levels here.
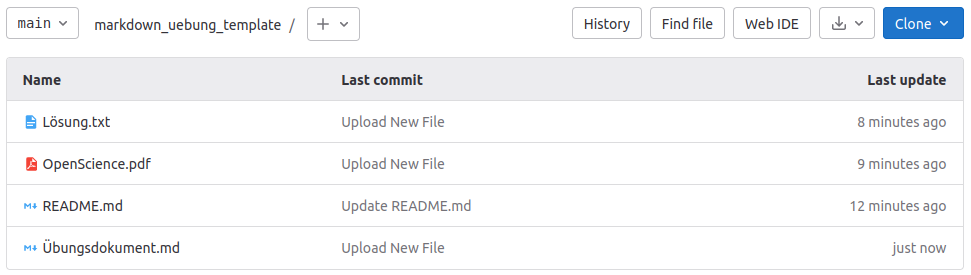
Structure of the template
In addition to the README, you will find three more files in the template.
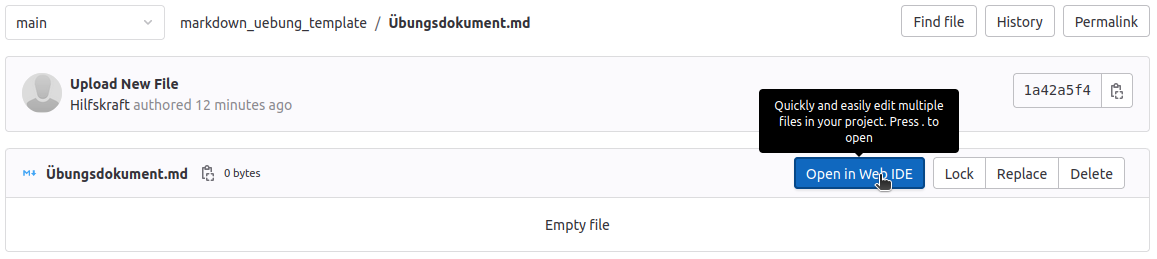
Editing the Document
To edit the “Übungsdokument.md”, click on it. Then click on Open in Web IDE.
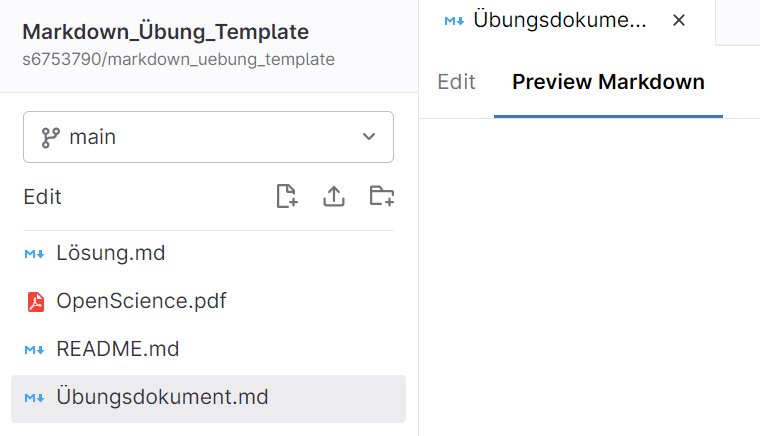
There you can fill the document with your Markdown code under Edit and preview how it will look like in the compiled version under Preview Markdown.
If you have made changes to your README that you want to keep, you can do this in two different ways.
One way is through the Web IDE, which we have just opened. We will now make a change to our document.
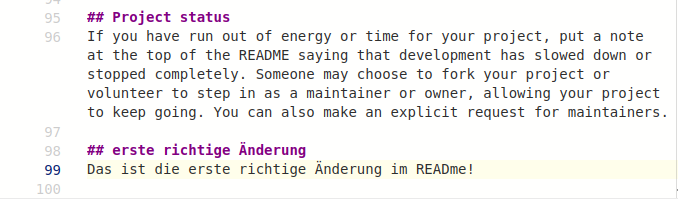
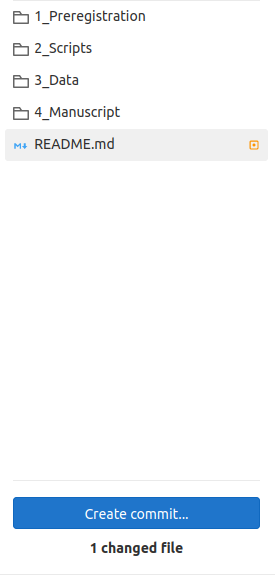
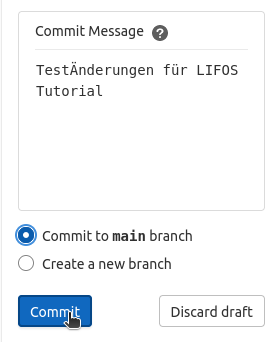
You can preview this change in the compiled version by clicking on Preview Markdown. If you are satisfied with the change, click on Create commit… at the bottom left.
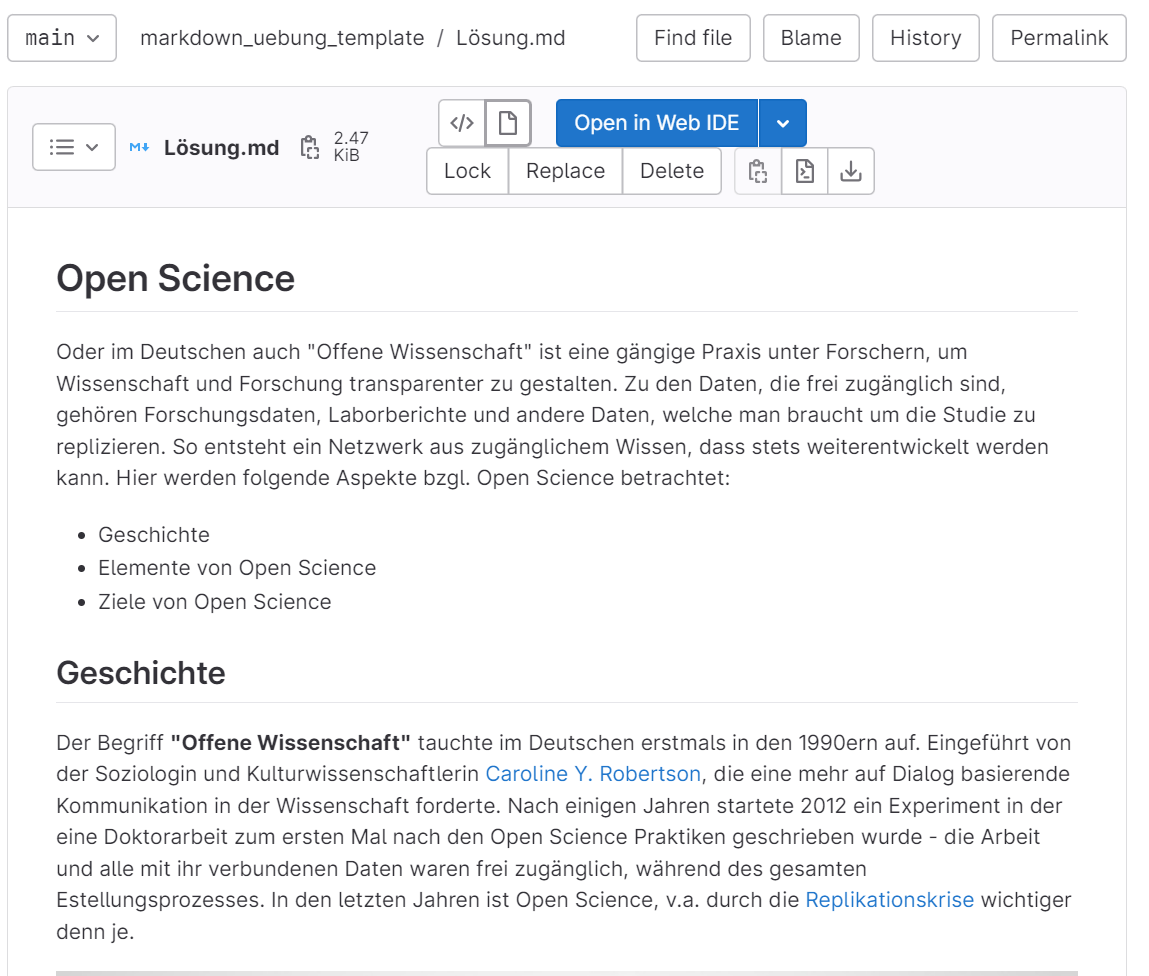
You can also click the file itself to preview it without opening the IDE.
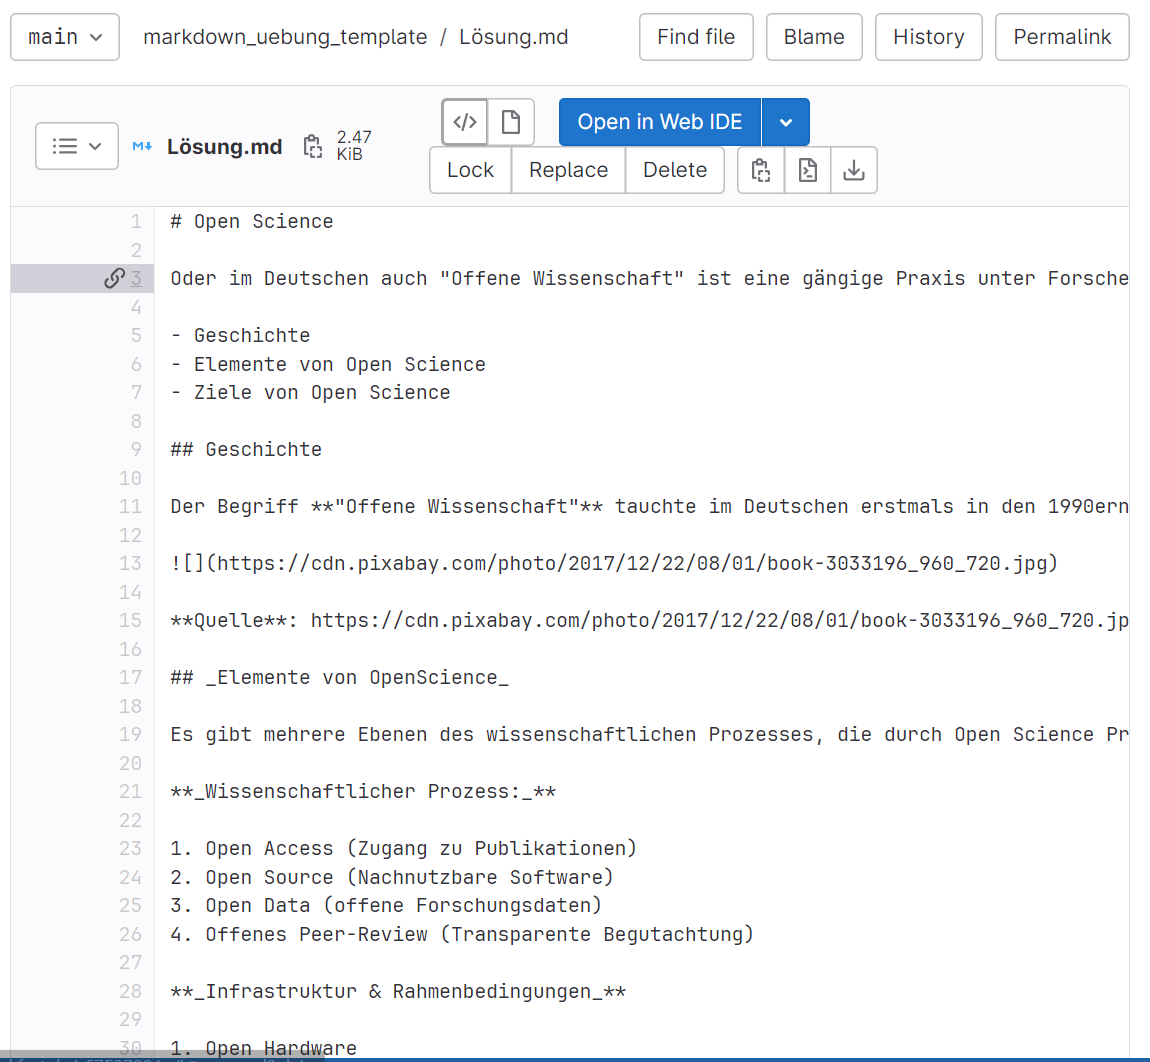
By cllicking the <> - button you can change back to a code view.
You enter a Commit Message. This is important to track changes later on. Although the Markdown exercise project is only for your personal use, you might still want to look for the reasons for individual changes you made over time.
Another option would be to download the README file to your computer, make the changes there, and then upload the updated README file using the “Update” button. Make sure to stay on the main branch when uploading!
If you think your document matches the template, you can compare it with the “Lösung.txt” file to see if you did everything correctly.
Deleting a project
As mentioned earlier, deleting projects that belong to a group is not possible for students. However, since the Markdown exercise project is personally assigned to you, you have the permission to delete it. Here’s a general description of how to delete projects:
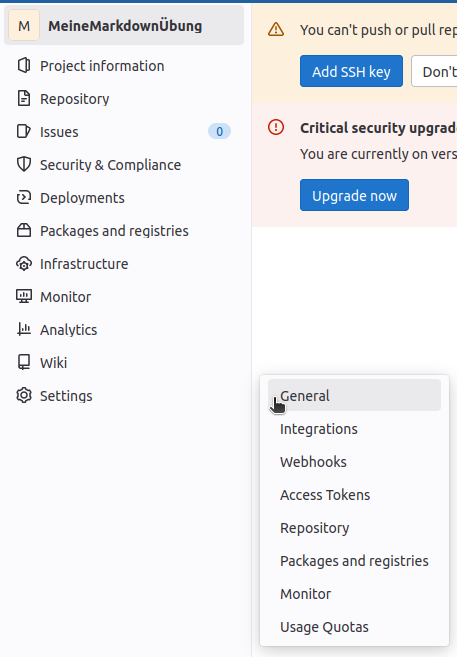
First, go to the project you want to delete (e.g. the completed Markdown tutorial). Then, click on Settings in the sidebar, and then on General:
Here you need to scroll down until you see Advanced.

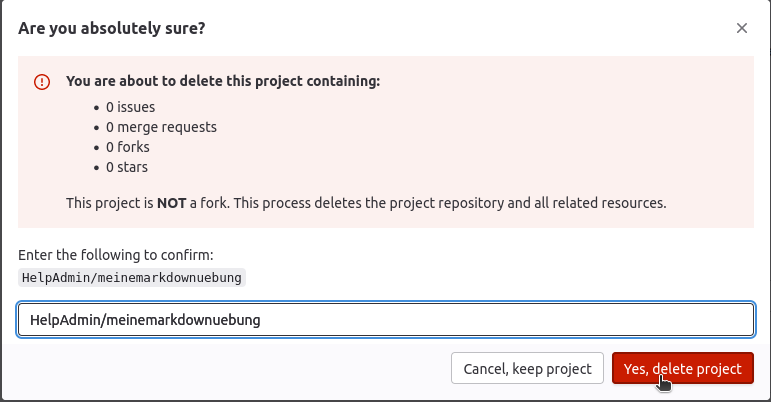
Once you’ve expanded it, scroll to the very end of the page. Here you will find the button that allows you to delete your project.

After you’ve confirmed the security prompt, you can delete your project.
As this is a personal project, it will be deleted directly. This distinguishes the process from deleting projects that belong to groups - which is the process that your supervisors can carry out there.
Conclusion
You can see that Markdown offers you various options to make your README appealing. In this exercise, we have only required the use of basic functionalities of Markdown. Those who are interested can of course explore further possibilities of use, for which we will link resources below. For example, the official Markdown Documentation can be recommended.