](/media/header/road_waysign.jpg)
Introduction
LIFOS is an Open Science infrastructure created in collaboration with the HRZ and based on GitLab. This infrastructure contains various templates that have been created to fit your specific thesis or project. Templates are designed to support the research process and introduce you to modern scientific standards. Since it is an internal university platform, you have a local and secure environment to become familiar with the Open Science concept and practice it. This prepares you for potential publication on other Open Science platforms (such as OSF) later in your scientific career.
What is GitLab?
GitLab is a Version Control System (VCS) that is fully based on Git and is mainly used for software development. The main task of VCSs is the transparent modification and documentation of files, which should be traceable at any time. The concept of tracking is naturally very interesting from an Open Science standpoint, as any modification to files is visible and traceable, which minimizes the likelihood of deception attempts. Another advantage of GitLab is that multiple people can work on a project simultaneously, and changes are immediately visible to others. On the internet, there are many different GitLab instances. However, they are separate from each other (just because you have an account on one instance does not mean you can access another one). Within such an instance (in our case, the LIFOS platform), project visibility can be set so that they are only accessible to other users of the platform. As mentioned earlier, this allows us to provide a secure practice environment.
Due to the highly technical background of GitLab, there are many ways to use it. In the four tutorials provided under “Grundlagen”, you will learn everything you need to know to successfully operate it within the context of research projects. Specifically, in this tutorial, we start with an orientation on the surface/interface.
Log In
Once you have received your login credentials, you can log in to the LIFOS server. The interface will look like this:
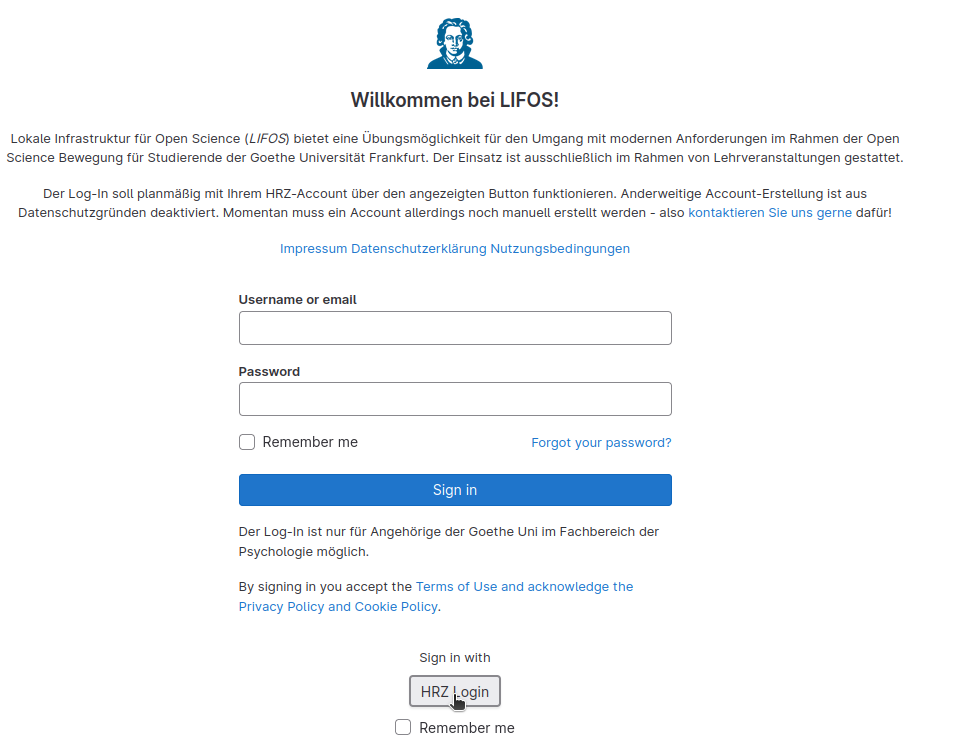
When logging in for the first time, you will need to accept the data privacy and terms of use. These are also stored in a separate project and can be viewed at any time. Additionally, you will need to give your Attribute Consent, i.e., whether it is okay for your name and student email address to be forwarded to LIFOS.
Homepage
After logging in, you will arrive at this homepage:
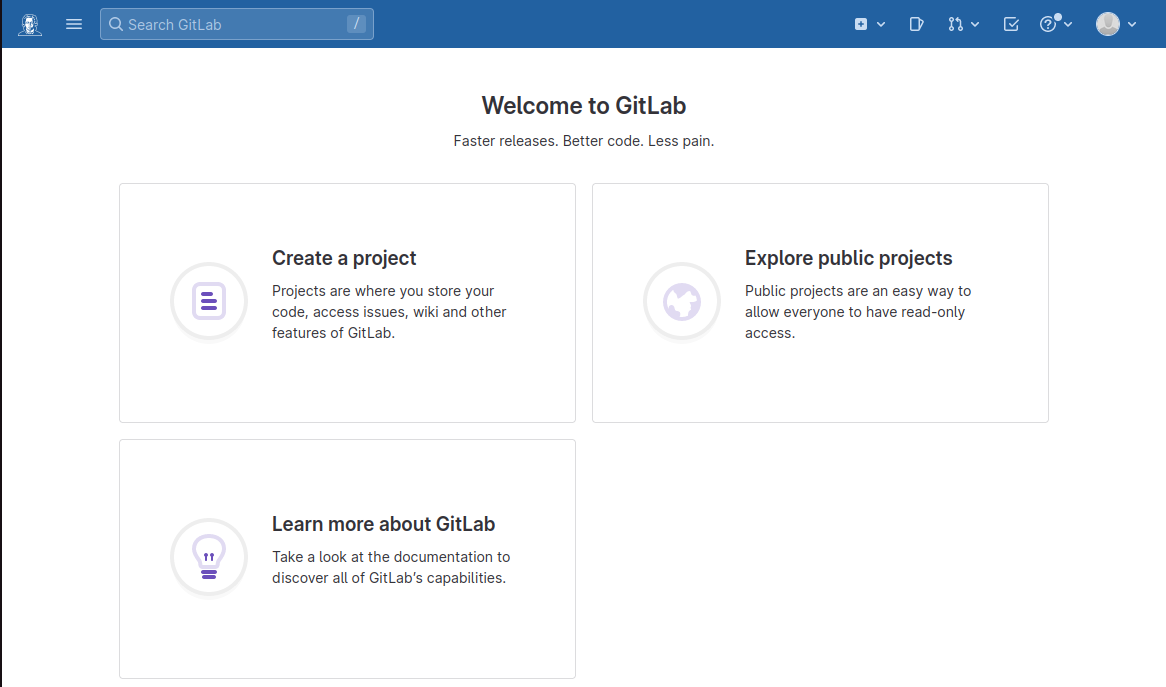
As you can see, there are three options to choose from. Firstly, Create a project, where you can create a project (surprise!). In the collapsible section below, we will show you how to create your own project without being part of a group and without using a template. However, you should not do this for your thesis, as your project belongs to the department under which you create it and there are already templates intended for your use. You can see how this works here.
Create your own project
To create your own project, go to the LIFOS homepage and click on New project on the right-hand side.

Then a page with four options will open:

To create a completely new project, select Create Blank Project. Here, give the project a name and set the visibility level to internal.
In the project URL, assign the project to yourself by simply selecting your username. Then you need a project slug, which should ideally resemble your project name, so that you can easily find the project later.
On the other hand, there is also Explore public projects here, which is self-explanatory. When you click on this, the following page opens:
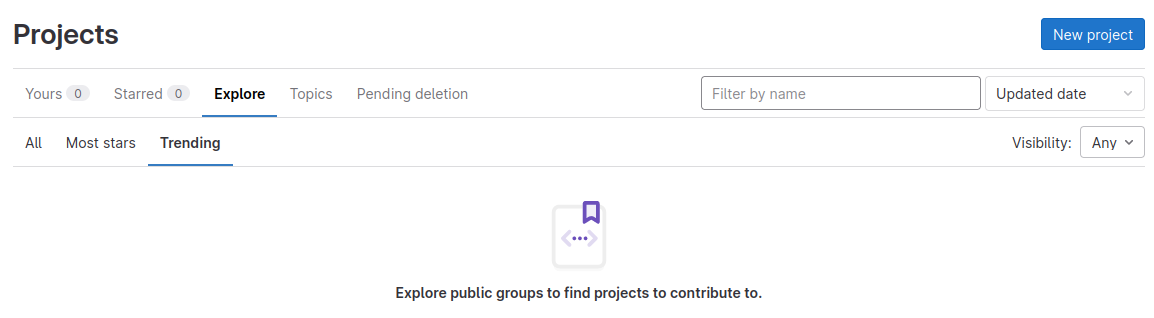
Directly under the big heading, you will find a bar that gives you an overview of different types of projects. Under Yours, you will find projects that you are involved in. If you are logging in to GitLab for the first time, there will probably be nothing under “Personal” and you will simply be redirected back to the start page. At this point, we just want to mention that group memberships are associated with departments - so you belong to the department to which your primary supervisor is assigned.
It is also worth mentioning the Explore tab. Here, you can view shared projects of other users. If you like one of these projects and want to use it as inspiration for your own project or follow it thematically, you can star it. To do this, go to the corresponding project and press Star.
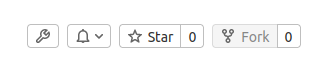
Once you have done that and return to the homepage by clicking on the Goethe button in the top left corner, you will find this project under Starred. This way you can collect all the projects you like in one central location and easily access them.
Also included on the homepage is Learn more about GitLab. If you click on this, you will be redirected to the GitLab docs, where you can find documentation on all sorts of topics related to working with GitLab.
Edit profile
By signing up for LIFOS, you have created your own profile. This can of course also be edited. To do so, click on Edit profile in the top right corner of your avatar (the gray mannequin).
Here you can, among other things, change your profile picture, your status, or even your time zone. What may be more important are the main settings. Here you can change a variety of things that not only affect your profile but also your person. For example, you can enter your preferred pronouns or how to pronounce your name.

In addition, you can link various profiles (LinkedIn, Twitter, Skype, etc.) and write a bio.
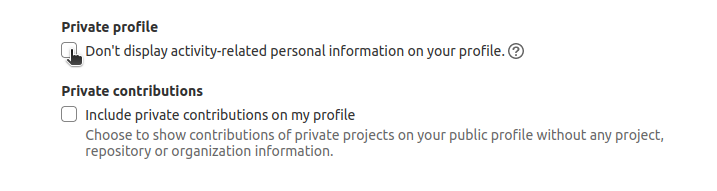
Afterwards, you can decide whether you want to make your profile private or not. If you decide to make it private, the following will no longer be visible to others:
- The date your account was created
- Tabs for activities, groups, contributed projects, personal projects, favorite projects, or snippets.
The default setting for regular GitLab instances would be visibility across the entire internet. However, we have already set the privacy settings such that only other users can view the information. Since exchanging information between users is precisely the purpose of the platform, there is no need to set your profile as private.
Lastly, click on Update profile settings to save your changes.
Groups
Accounts on LIFOS should always be associated with a group (or multiple groups). Each department at the institute has its own group, and you should belong to the group where you are also writing your thesis. Over time, you may accumulate multiple group memberships through completing several theses. Joining a group is not possible independently to ensure orderly conduct. Therefore, please contact your supervisor or the central support of LIFOS (although confirmation from your supervisor is necessary).
You can view your group membership(s) by clicking the menu (three stripes) in the top left, then Groups, and then View all groups.

We have already seen that within a group, all projects are displayed. However, the logic of the instance goes even further, because groups on GitLab are structured so that all members of a group could modify files in a project that belongs to the group. The great advantage of the group logic is that you don’t have to individually adjust permissions for projects. Furthermore, projects remain assigned to the group even after individual students leave and can serve as inspiration for future students.
If you are now worried that someone will make changes to your project that you do not want, the logic of the platform has the following answer: First of all, work on a project is completely transparent. So, you could see the name of the user who made the change and trace back which makes abuse very unlikely. Additionally, you can go back to any version of your project. So, if you accidentally make a change, you can undo it in the project. Generally, students in groups also do not have the right to delete projects, making malicious actions impossible as well.
Conclusion and next steps
The tutorial should provide an insight into the background and interface of LIFOS. The first impulse is now to create your own project for your study work. To help you not start completely from scratch, we have already created templates for various situations. In the next tutorial, you will find a decision tree that will help you choose the appropriate template for you.